Starting Your Traeger: A Beginner’s Guide
Although grilling has always been a well-liked cooking technique, the Traeger grill has recently taken the BBQ world by storm. The ease with which this creative grill can produce mouthwatering, smoky flavors has won over BBQ aficionados. But knowing how to light & operate the grill correctly is crucial to really perfecting the art of grilling on a Traeger.
We’ll walk you through the procedure of firing up your Traeger grill in this post so you can enjoy a successful and safe grilling experience. It’s important to talk about safety before we get into the specifics of starting your Traeger grill. Although grilling is a pleasant and entertaining activity, there are some possible risks. I was grilling with some friends once, & we didn’t take the necessary safety precautions.
A tiny fire that was easily preventable was the end result. Before starting your Traeger, there are a few things you should do to avoid accidents similar to this one. Wearing safety gear when grilling is paramount. This comprises closed-toe footwear, an apron, & gloves resistant to heat.
By using these products, you can guard against burns and other accidents that can happen when using hot grills and utensils. Also, make sure your Traeger grill is kept safely away from anything that could catch fire. Trees, bushes, & other potentially flammable materials are included in this. In case of emergency, it’s also critical to keep a fire extinguisher close by.
| Step | Description |
|---|---|
| 1 | Fill the hopper with wood pellets. |
| 2 | Plug in the Traeger and turn it on. |
| 3 | Set the temperature to the desired level. |
| 4 | Wait for the Traeger to reach the set temperature. |
| 5 | Place your food on the grill and close the lid. |
| 6 | Monitor the temperature and adjust as needed. |
| 7 | Remove the food from the grill when it’s done. |
| 8 | Clean the grill and turn off the Traeger. |
It’s important to know all of the parts and features of your Traeger grill in order to operate it properly. The Traeger grill is made up of a few essential components that combine to provide the ideal grilling experience. The hopper, which contains the wood pellets used to fuel the fire, is one of the main parts of the Traeger grill. The grill’s hopper, which holds your preferred kind of wood pellets, is situated at the rear of the appliance.
You can personalize the taste of your food by selecting from a range of pellet flavors, including hickory, mesquite, & apple. The auger, which moves the wood pellets from the hopper to the fire pot, is an additional crucial part. Setting and adjusting the grill’s temperature is made possible by the digital controller that drives the auger.
A meat probe that can be used to check the internal temperature of food is another feature of the digital controller. It’s crucial to routinely clean and maintain your Traeger before you start grilling. I discovered too late that cooking mishaps can result from neglecting grill upkeep. Once, I cooked food and caused a grease fire because I neglected to clean the grease tray.
Make sure to clean the grill after each use to prevent such accidents. This include clearing the grill grates, emptying the grease tray, and clearing any remaining ash from the fire pot. Check the grill on a regular basis for indications of wear and tear, & replace any broken parts as necessary. The kind of wood pellets you select can have a big effect on how your food tastes.
I once experimented with various pellet kinds and was astounded by how the food tasted differently as a result. Apple pellets contributed a light sweetness, while hickory pellets produced a deep, smoky flavor. The type of food you will be grilling and the desired flavor profile should be taken into account when selecting pellets for your cook. Try out various flavor combinations to determine which one you like best.
It is imperative to ascertain that the pellets you select are of superior quality, as inferior pellets may yield flavors that are less appetizing. It can be a little scary to light the fire on your Traeger grill, especially if you’ve never grilled before. I still recall my initial difficulties starting my Traeger because I didn’t know how to do it correctly. We’ll look at some of the most popular ways to light the grill since there are a few different approaches. The use of a starter tube is one technique.
To start a fire, just add wood pellets to the tube, light them with a match or lighter, & put the tube inside the fire pot. The remainder of the pellets in the hopper will ignite once the pellets catch fire and start a flame. Using an electric igniter is another way.
There’s no need for matches or lighters with this handy option. The electric igniter will spark a spark to ignite the pellets when you simply press the ignition button on the digital controller. It is crucial to regulate the temperature on your Traeger grill after the fire is started. There was a time when I had trouble keeping my Traeger’s temperature under control, which led to overdone and dry food. Knowing how to set and adjust the temperature correctly is essential to preventing this.
You can adjust the cook’s temperature using the digital controller on your Traeger. To adjust the temperature to your preferred level, just press and hold the arrow buttons. After that, the digital controller will keep the temperature constant during cooking. Be aware that the temperature inside the grill may differ from what is displayed on the digital controller. Make sure you keep an eye on the grill’s temperature with an external thermometer for accuracy.
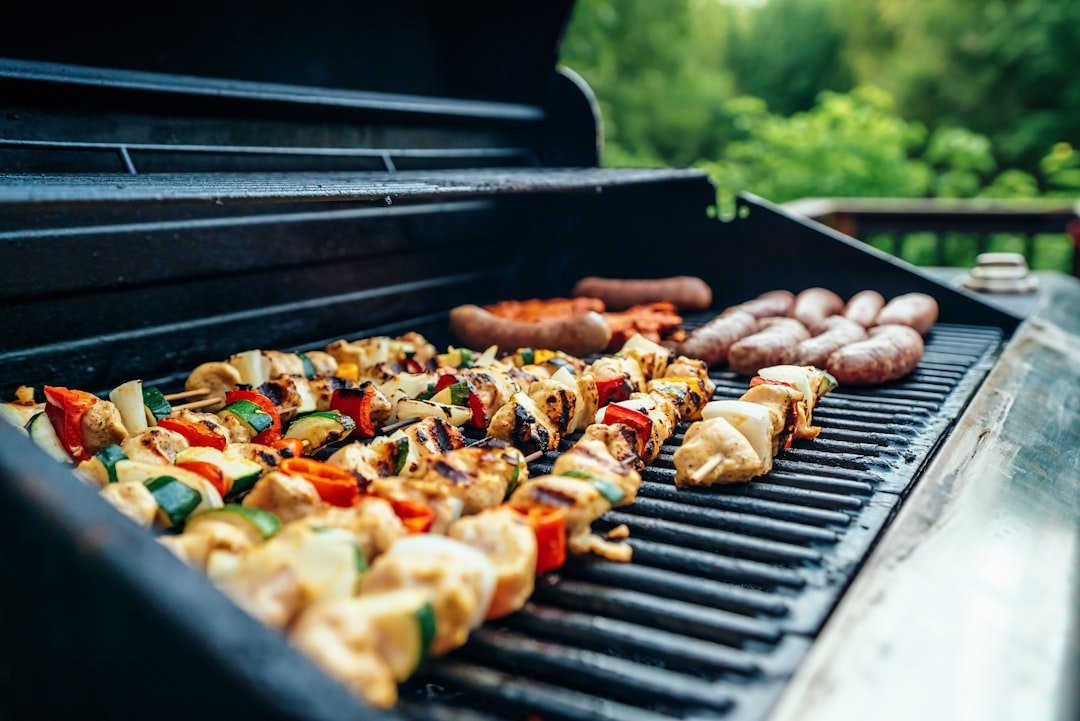
Even though setting food on the grill might seem easy, proper technique is necessary to guarantee even cooking. I have accidentally overcooked food by arranging it too closely to one another. Use these guidelines to position food on your Traeger grill correctly to prevent this.
But before you add your food, be sure to preheat the grill. This will guarantee that the food will sear on hot grill grates. After preheating the grill, place the food in a single layer, allowing space between each piece. Cooking will be even and appropriate air circulation will be made possible by this. When placing food on the grill, it’s also critical to take its size and thickness into account.
Meat slices with a higher thickness ought to be positioned nearer the heat source as they might take longer to cook. Conversely, thinner meat pieces need to be cooked at a greater distance in order to avoid overcooking. It’s crucial to frequently check on your food and make any required adjustments while it cooks on the Traeger grill.
I once made the error of leaving the food unattended, which led to overcooked and dry meat. Use these suggestions for keeping an eye on your cook to avoid this. Keep an eye on the internal temperature of the food by using the meat probe that comes with your Traeger grill. Make sure to stay away from any bones as you insert the probe into the thickest portion of the meat.
You can monitor your cook’s progress by looking at the digital controller’s internal temperature display. The temperature settings may need to be changed if you observe that the temperature is rising too quickly or not at all. To adjust the temperature as necessary, use the arrow buttons on the digital controller. To guarantee even cooking, the food’s placement on the grill might also need to be changed.
After your food is perfectly cooked, take it off the grill and turn off your Traeger. I once made the messy and annoying mistake of taking food off the grill the wrong way. Use these finishing techniques for your cook to prevent this. First, take the food off the grill using tongs or gloves resistant to heat. Take care not to come into contact with any hot surfaces, including the grill grates.
Before serving, arrange the food to rest on a spotless platter or chopping board. It’s crucial to correctly turn off your Traeger after taking the food out. All you need to do is set the digital controller to “shutdown,” and the grill will start to cool down. Cleaning the grill grates and other parts is possible once it has fully cooled. To sum up, a safe and enjoyable grilling experience depends on starting and operating your Traeger grill correctly.
You may become an expert on the Traeger grill & wow your loved ones with mouthwatering, smoky flavors by paying attention to these pointers and recommendations. Now light up your Traeger, grab your preferred wood pellets, and get ready to appreciate grilling like never before.
If you’re looking for a comprehensive guide on how to start a Traeger, look no further than the article “Traeger 101: A Beginner’s Guide to Mastering Your Grill” on howtostart.digital. This informative piece covers everything from assembling your Traeger grill to seasoning it properly, and even includes tips and tricks for achieving the perfect smoky flavor. Whether you’re a seasoned grilling pro or just starting out, this article is a must-read. Check it out here!