Testing a Starter Motor Solenoid: A Step-by-Step Guide
The starter motor solenoid is an essential part of the starting system of a car. Its functions include turning on the starter motor and transferring power from the battery to the starter motor. The solenoid may eventually wear out or develop a defect, which could cause the car to have starting problems. Testing the starter motor solenoid is a crucial step in identifying starting issues & guaranteeing the car is operating correctly. We will guide you through the starter motor solenoid testing procedure in this extensive guide.
We will discuss how to test a solenoid with a multimeter step-by-step, as well as safety measures and testing equipment. You can check whether the solenoid is operating correctly and take the necessary action to fix any problems by following these instructions. Precautions should be taken to protect your health and the vehicle’s proper operation before starting the testing process. Above all, ensure that you are working in a room with adequate ventilation and room to move around. In order to shield your hands and eyes from any potential hazards, you should also always wear safety goggles.
Several necessary tools are needed to test the starter motor solenoid in an efficient manner. Having the ability to measure electrical current and voltage makes a multimeter the most crucial tool you’ll need. To disconnect the battery and get to the solenoid, you might also need a wrench or socket set. Having a flashlight handy is also beneficial for lighting up places beneath the car that are difficult to access. Testing the starter motor solenoid can be done with confidence if you follow these safety measures and have the required equipment on hand.
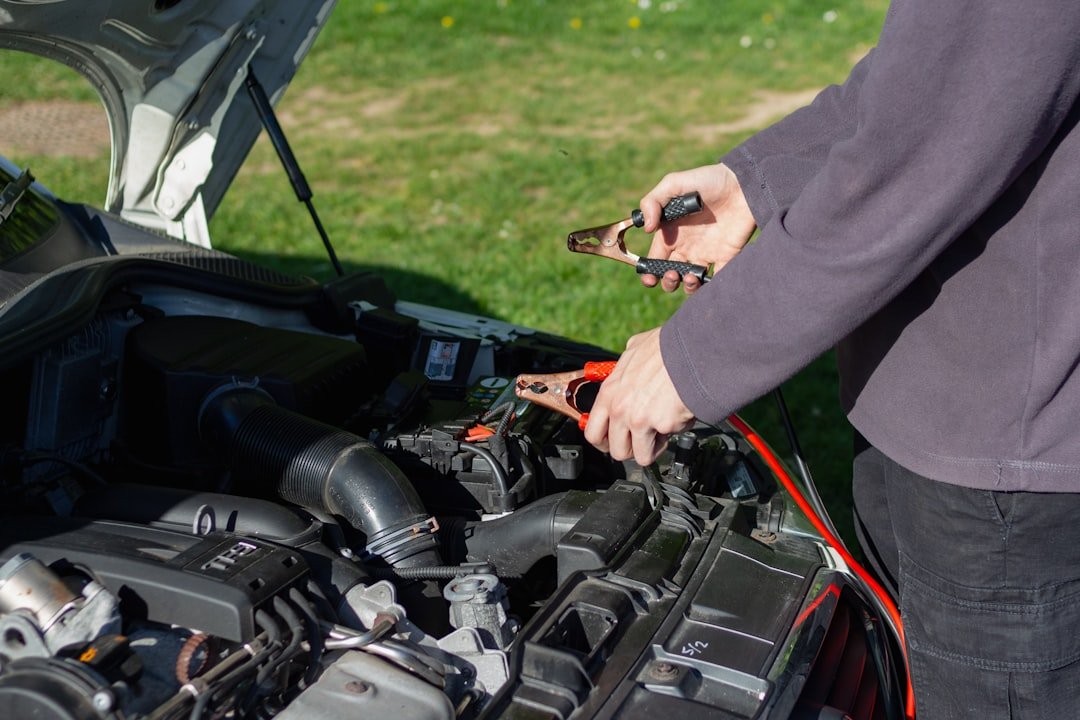
To test the starter motor solenoid, unplug the car’s battery first. This is an essential safety precaution to avoid any electrical shocks or harm to the electrical system of the car while it is being tested. Locate the vehicle’s battery first, then loosen the nut on the negative terminal with a wrench or socket set. Carefully remove the negative cable from the terminal after the nut has been loosened, and store it somewhere safe where it won’t come into contact with the terminal again.
| Step | Description |
|---|---|
| 1 | Locate the starter motor solenoid |
| 2 | Disconnect the battery |
| 3 | Check for power at the solenoid |
| 4 | Test the solenoid with a multimeter |
| 5 | Inspect the solenoid for physical damage |
| 6 | Replace the solenoid if necessary |
To avoid unintentional contact while working on the car, it’s a good idea to cover the negative terminal with electrical tape after disconnecting it. Without running the risk of electrical shock or damaging the car’s electrical system, you can find and test the starter motor solenoid after the battery has been disconnected. Finding the starter motor solenoid’s location within the car is the next step in testing it.
Starting motors are usually found on or close to the underside of the car, close to the engine, and this is where the solenoid is usually found. Since it can be challenging to see in dimly lit areas, you might need to use a flashlight to illuminate this area & locate the solenoid. Note the starter motor solenoid’s location as well as any nearby parts that might need to be shifted or taken out to make room for it so that testing can be done.
The solenoid may be easily accessible or may need some maneuvering to reach, depending on the make and model of your car. Locating the solenoid and getting ready for access will help to guarantee a seamless testing procedure free from needless hiccups or delays. Once the battery has been removed & the solenoid has been located, you can use a multimeter to test the starter motor solenoid. After setting your multimeter to measure resistance in ohms, place the probes on the solenoid’s large terminals. When tested in this way, a healthy solenoid should have very low resistance (nearly zero ohms). The solenoid needs to be replaced if the multimeter displays high resistance or no continuity.
You can use the multimeter to test for continuity between the small control terminal & ground in addition to checking for resistance. The solenoid should be receiving power and engaging the starter motor when the ignition key is turned on, as indicated by continuity between these two points. If continuity is absent, there can be a wiring or control circuit issue that needs to be fixed. You can precisely identify & address any problems with the starter motor solenoid by using a multimeter to test for resistance and continuity.
Examining the starter motor solenoid’s actions during an attempt to start the car is another way to test it. Have a helper turn on the ignition key while you wait for the solenoid to click, after the battery has been reconnected and they are seated in the driver’s seat. The solenoid is getting power and starting the starter motor as intended when it makes the clicking sound. When the solenoid is starting, you can measure the voltage drop across its terminals with a multimeter while keeping an eye on its clicking.
With one probe on the battery’s positive terminal & the other on the solenoid’s large terminal, make your observations. Less than 0.5 volts should drop in voltage between these two points when the ignition key is turned to start the engine. Excessive voltage drop could be a sign of high resistance in the solenoid or its connections, which should be addressed as it can cause starting problems. One can obtain valuable insight into the performance of a solenoid and identify potential issues that may be affecting starting reliability by measuring voltage drop during starting and observing the solenoid’s clicking.
With the aid of this testing technique, the solenoid’s functioning can be evaluated in real time, and any underlying issues can be identified and addressed. It is now time to reconnect the vehicle’s battery & carry out last inspections to make sure everything is in working order, following the testing procedure and resolving any problems with the starter motor solenoid. Using a wrench or socket set, tighten the nut firmly to reattach the negative cable to the battery terminal. Start the car with the ignition key after the battery has been reconnected and watch how it handles. The starter motor should engage smoothly and the solenoid should not click if everything is operating as it should.
Also, make sure the voltage drop across the solenoid terminals during starting is within an acceptable range by using your multimeter to measure it. In conclusion, spare a moment to visually examine every connection & part pertaining to the starter motor solenoid, making sure that everything is tight and free of corrosion or damage. These last checks will allow you to verify that your car’s starting system is operating at peak efficiency and that any problems with the solenoid have been resolved. To sum up, testing the starter motor solenoid is a crucial component of keeping your car’s starting system dependable. You can safely diagnose any solenoid problems and take the necessary corrective action to fix them by carefully following these step-by-step instructions and adopting the required safety precautions.
These testing techniques offer useful insight into its operation and help guarantee that your car starts dependably every time, whether you use a multimeter to measure resistance and continuity or watch for solenoid clicking and voltage drop during starting.
Looking to learn more about testing a starter motor solenoid? Check out this informative article on howtostart.digital that provides step-by-step instructions and tips for diagnosing and testing a starter motor solenoid. Whether you’re a beginner or an experienced mechanic, this article will help you understand the process and ensure your vehicle’s starter motor is functioning properly. For more in-depth guidance, be sure to visit howtostart.digital/hello-world/.