Sourdough Starter Care: Tips for Keeping it Healthy
In recent years, home bakers have come to appreciate sourdough starter. Many baking enthusiasts, including myself, have been enthralled with the process of creating and nurturing a sourdough starter. Making a loaf from scratch is incredibly satisfying, and sourdough bread offers unmatched flavors and textures.
I still recall my initial foray into the realm of sourdough starter. Even though it was a difficult task, I was committed to completing it. I had no idea that this simple combination of flour and water would revolutionize my baking. Commercial yeast is unable to match the rich flavor & fluffy crumb that sourdough bread delivers.
I don’t know how I would bake without it now that it’s a kitchen necessity. Fermenting flour and water with wild yeast and bacteria is called a sourdough starter. Sourdough starter has a diverse community of microorganisms, in contrast to commercial yeast, which is made from a single strain of yeast.
This community, which consists of lactobacilli, wild yeast, and other bacteria, is responsible for leavening the bread and giving it its distinct flavor. The history of sourdough starter is extensive, going back thousands of years. Many civilizations, including the Greeks and Romans, are said to have adopted it after it originated in ancient Egypt. Actually, the word “sourdough” comes from the French word “levain,” which translates to “leaven.”.
| Metrics | Description |
|---|---|
| pH level | Should be between 4 and 5 for a healthy starter |
| Temperature | Keep between 70-85°F for optimal growth |
| Feeding frequency | Feed every 12-24 hours depending on activity level |
| Hydration level | Typically 100% hydration (equal parts flour and water by weight) |
| Activity level | Should double in size within 4-8 hours after feeding |
| Smell | Should have a pleasant, slightly sour aroma |
Before commercial yeast became available, sourdough starter was a common ingredient in many homes because it offered a consistent and long-lasting source of leavening for bread. Beyond its mouthwatering taste, sourdough bread has various health advantages. The lower glycemic index of sourdough bread as opposed to bread made with commercial yeast is one of its primary benefits. The fermentation process that occurs in sourdough starter helps to break down complex carbohydrates, making them easier to digest and reducing the spike in blood sugar levels that can occur with other types of bread. I can attest to the beneficial effects sourdough bread can have on my health.
In comparison to other types of bread, I find that sourdough bread is much easier on my stomach because I have digestive problems. For people with sensitivity, the natural fermentation process in sourdough starter aids in the breakdown of gluten and other proteins, improving bread digestibility. Although making your own sourdough starter from scratch can seem daunting, it is actually very easy. Flour, water, & a tiny bit of patience are all you need.
Here’s a step-by-step tutorial to get you going:1. Equal parts flour and water should be combined in a clean glass jar or container. You may begin, for instance, with 100 grams of water and 100 grams of flour. 2.
Toss to mix thoroughly, being careful not to let any flour pockets remain dry. 3. Use a fresh kitchen towel or plastic wrap to loosely cover the jar. In addition to allowing air to flow, this will keep any undesirable pollutants out. 4. In a warm area of your kitchen, preferably between 70 and 75°F (21 & 24°C), place the jar. Wild yeast and bacteria will benefit from this and grow more readily. 5.
After a day, discard half of the mixture and replenish it with the same amount of water and flour. To begin with, for instance, you would add 100 grams of flour & 100 grams of water; then, you would discard 100 grams of the mixture. 6. For about a week, or until your sourdough starter starts to bubble and become active, repeat this process every day. This suggests that the wild bacteria and yeast are doing well. It can take some trial and error to get a sourdough starter started. I still recall my initial attempt, in which I erred by using tap water rather than filtered water.
As a result, the starter was unresponsive and slow. I noticed that my starter started to bubble and grow when I switched to filtered water, though. Feeding your sourdough starter on a regular basis is essential to its health and vitality.
Refilling the starter with fresh flour and water entails throwing away some of it during this process. The steps are as follows:1. Remove the sourdough starter from the refrigerator and allow it to reach room temperature. 2. Pit about half of the starter into a fresh jar. It is suitable for throwing away or incorporating into other dishes like waffles or pancakes.
Three. Fill the jar with equal parts water and flour, stirring to mix well. 4. Once it starts to become active and bubbly, leave the jar loosely covered and let it sit at room temperature for a few hours.
A good balance of bacteria and yeast can be preserved by consistently feeding your sourdough starter. Also, it guarantees that the starter is always active and prepared to leaven your bread. There was once a time I went on vacation and forgot to feed my sourdough starter for a whole week.
Ajar with a dark liquid & strong odor, that’s what greeted me when I came back. My poor starter had perished from starvation. It was an insightful lesson about the significance of consistent feeding & care. Depending on how frequently you want to bake, there are a few different ways to store your sourdough starter. If you bake a lot, you can keep your starter in the refrigerator and feed it once a day or once every few days. This keeps the bacteria and wild yeast alive and prepared for baking.
Your sourdough starter can be kept in the refrigerator if you don’t bake as frequently. You can feed it less frequently as a result of the fermentation process being slowed down. Use these procedures to keep your starter chilled:1. Feed your sourdough starter according to normal, making sure it remains bubbly & active. 2.
Put the jar in the refrigerator with a loose lid on. Three. Once a week, feed your starter by adding fresh flour and water and discarding half of it. 4.
Take your starter out of the refrigerator and allow it to reach room temperature before using it in a recipe. Check to see if it is active and prepared to leaven your bread by feeding it a few times. I used to have to keep my sourdough starter in a special way. Since I was moving to a new apartment, I didn’t want to take a chance on losing my priceless starter.
I therefore took it on the trip and carefully packed it in a little jar. It withstood the relocation & carried on prospering in its new residence. Working with sourdough starter can sometimes be challenging, especially for beginners. The following list of typical issues & their solutions includes:1.
Absence of activity: Your sourdough starter might require a little encouragement if it is not exhibiting any signs of activity. As an alternative, try feeding it with a little bit of whole wheat flour, which has more wild yeast, or a higher flour to water ratio. 2. A sourdough starter should naturally have a sour smell, but if it starts to smell strong or disagreeable, it could indicate a microbiological imbalance. Aim to feed your starter more often or change the flour-to-water ratio.
Three. Mold: It’s best to throw away and start over if your sourdough starter exhibits any indications of mold. Mold can be dangerous & ruin a whole loaf of bread. When my sourdough starter started to become sluggish and inactive, I had an issue.
My starter required a higher flour to water ratio to promote the growth of wild yeast, as I found out after doing some research. My starter started to bubble & grow again as soon as I made this adjustment. Sourdough starters need to be cared for and maintained with a little bit of attention. The following advice will help you maintain your starter’s happiness & activity:1.
Use filtered water: Natural yeast and bacteria can’t grow in tap water due to the presence of chlorine and other chemicals. To give your starter the best chance of succeeding, use filtered water. 2. Steer clear of metal utensils as they may react with the acids in the sourdough starter to change the flavor.
When feeding or stirring your starter, use wooden or plastic utensils instead. Three. Save some starter: It’s best to discard about half of your sourdough starter and add more flour and water to refill it. By doing this, you can keep your starter from growing too big and preserve a balanced population of microorganisms.
I once stirred my sourdough starter with a metal spoon by accident, & that experience taught me a valuable lesson about keeping it healthy. My starter tasted very unpleasant and metallic the next day. I made sure to use wooden utensils whenever I worked with my starter after that day.
The possibilities are virtually limitless once you have a robust and active sourdough starter. To help you get started, consider these recipe suggestions:1. Of course, bread is the traditional application for sourdough starter. Sourdough bread recipes abound & range from easy loaves to intricate artisanal creations. 2. Pancakes: A delectable and zesty take on the traditional morning dish are sourdough pancakes.
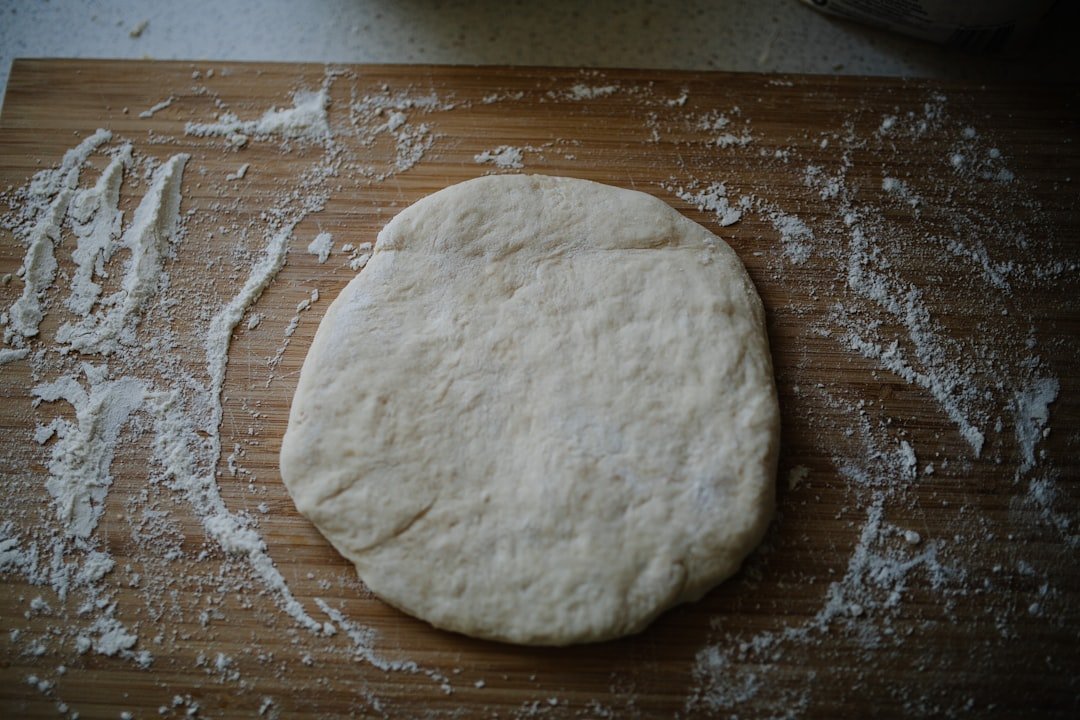
The pancakes gain fluff and a rich flavor from the sourdough starter. 3. Pizza dough: For handcrafted pizzas, sourdough pizza dough produces a delicious, chewy crust. The lengthy fermentation process that sourdough starters produce gives the dough more depth and improves the pizza’s flavor profile overall. I still recall my first experimentation with a new recipe that I made with my sourdough starter. They were cinnamon rolls made with sourdough, and they came out perfectly.
A genuinely delightful treat was produced by the harmonious combination of the sweet cinnamon filling & the tart taste of the sourdough. My baking abilities have been greatly improved and my kitchen has become more satisfying since I started working with sourdough starter. Making and caring for a sourdough starter can be difficult at first, but with patience and a little practice, it becomes second nature. It’s impossible to dispute the health and flavor advantages of sourdough bread.
No other type of bread compares to the distinct flavors and textures of sourdough bread. Those with dietary restrictions or sensitivities will find it to be an excellent option due to its lower glycemic index and easier digestion. Sharing a freshly baked loaf of sourdough bread with my loved ones is an experience I will always cherish. Their initial expression of joy upon tasting the food was irreplaceable. Time and effort spent keeping a sourdough starter alive are repaid in moments like these.
I therefore urge you to give it a try if you want to learn more about sourdough bread and improve your baking skills. Create your own sourdough starter, give it tender care, and savor the results of your labor. Cheers to all your baking!
If you’re looking for more information on how to take care of your sourdough starter, you might find this article from HowToStart.digital helpful. They provide a comprehensive guide on maintaining and nurturing your sourdough starter, ensuring that it stays healthy and active. Check out their article here for expert tips and tricks to keep your sourdough starter thriving.